Supply chain: vendors, purchase orders & auto-posting
How to manage vendors and materials, raise purchase orders, walk them from open to received and paid, and how each step posts journal entries to your books automatically.
- 1
What the Supply Chain page is for
The Supply Chain page (coach/branch admin only) is where you manage everything you buy: the vendors you order from, the materials you stock, and the purchase orders that bring gear and services into your gym.
It sits alongside Inventory and Accounting and ties them together. When you receive a purchase order, the stock lands in Inventory; when each step is completed, the matching entries are posted to your Accounting ledger automatically. You never touch a spreadsheet.
The page has three building blocks:
- Vendors — the suppliers you buy from (e.g. a gi manufacturer).
- Materials — the goods you order and stock (gear items, plus free-form "other" materials).
- Purchase orders — an order to a vendor, made up of goods and/or service lines.
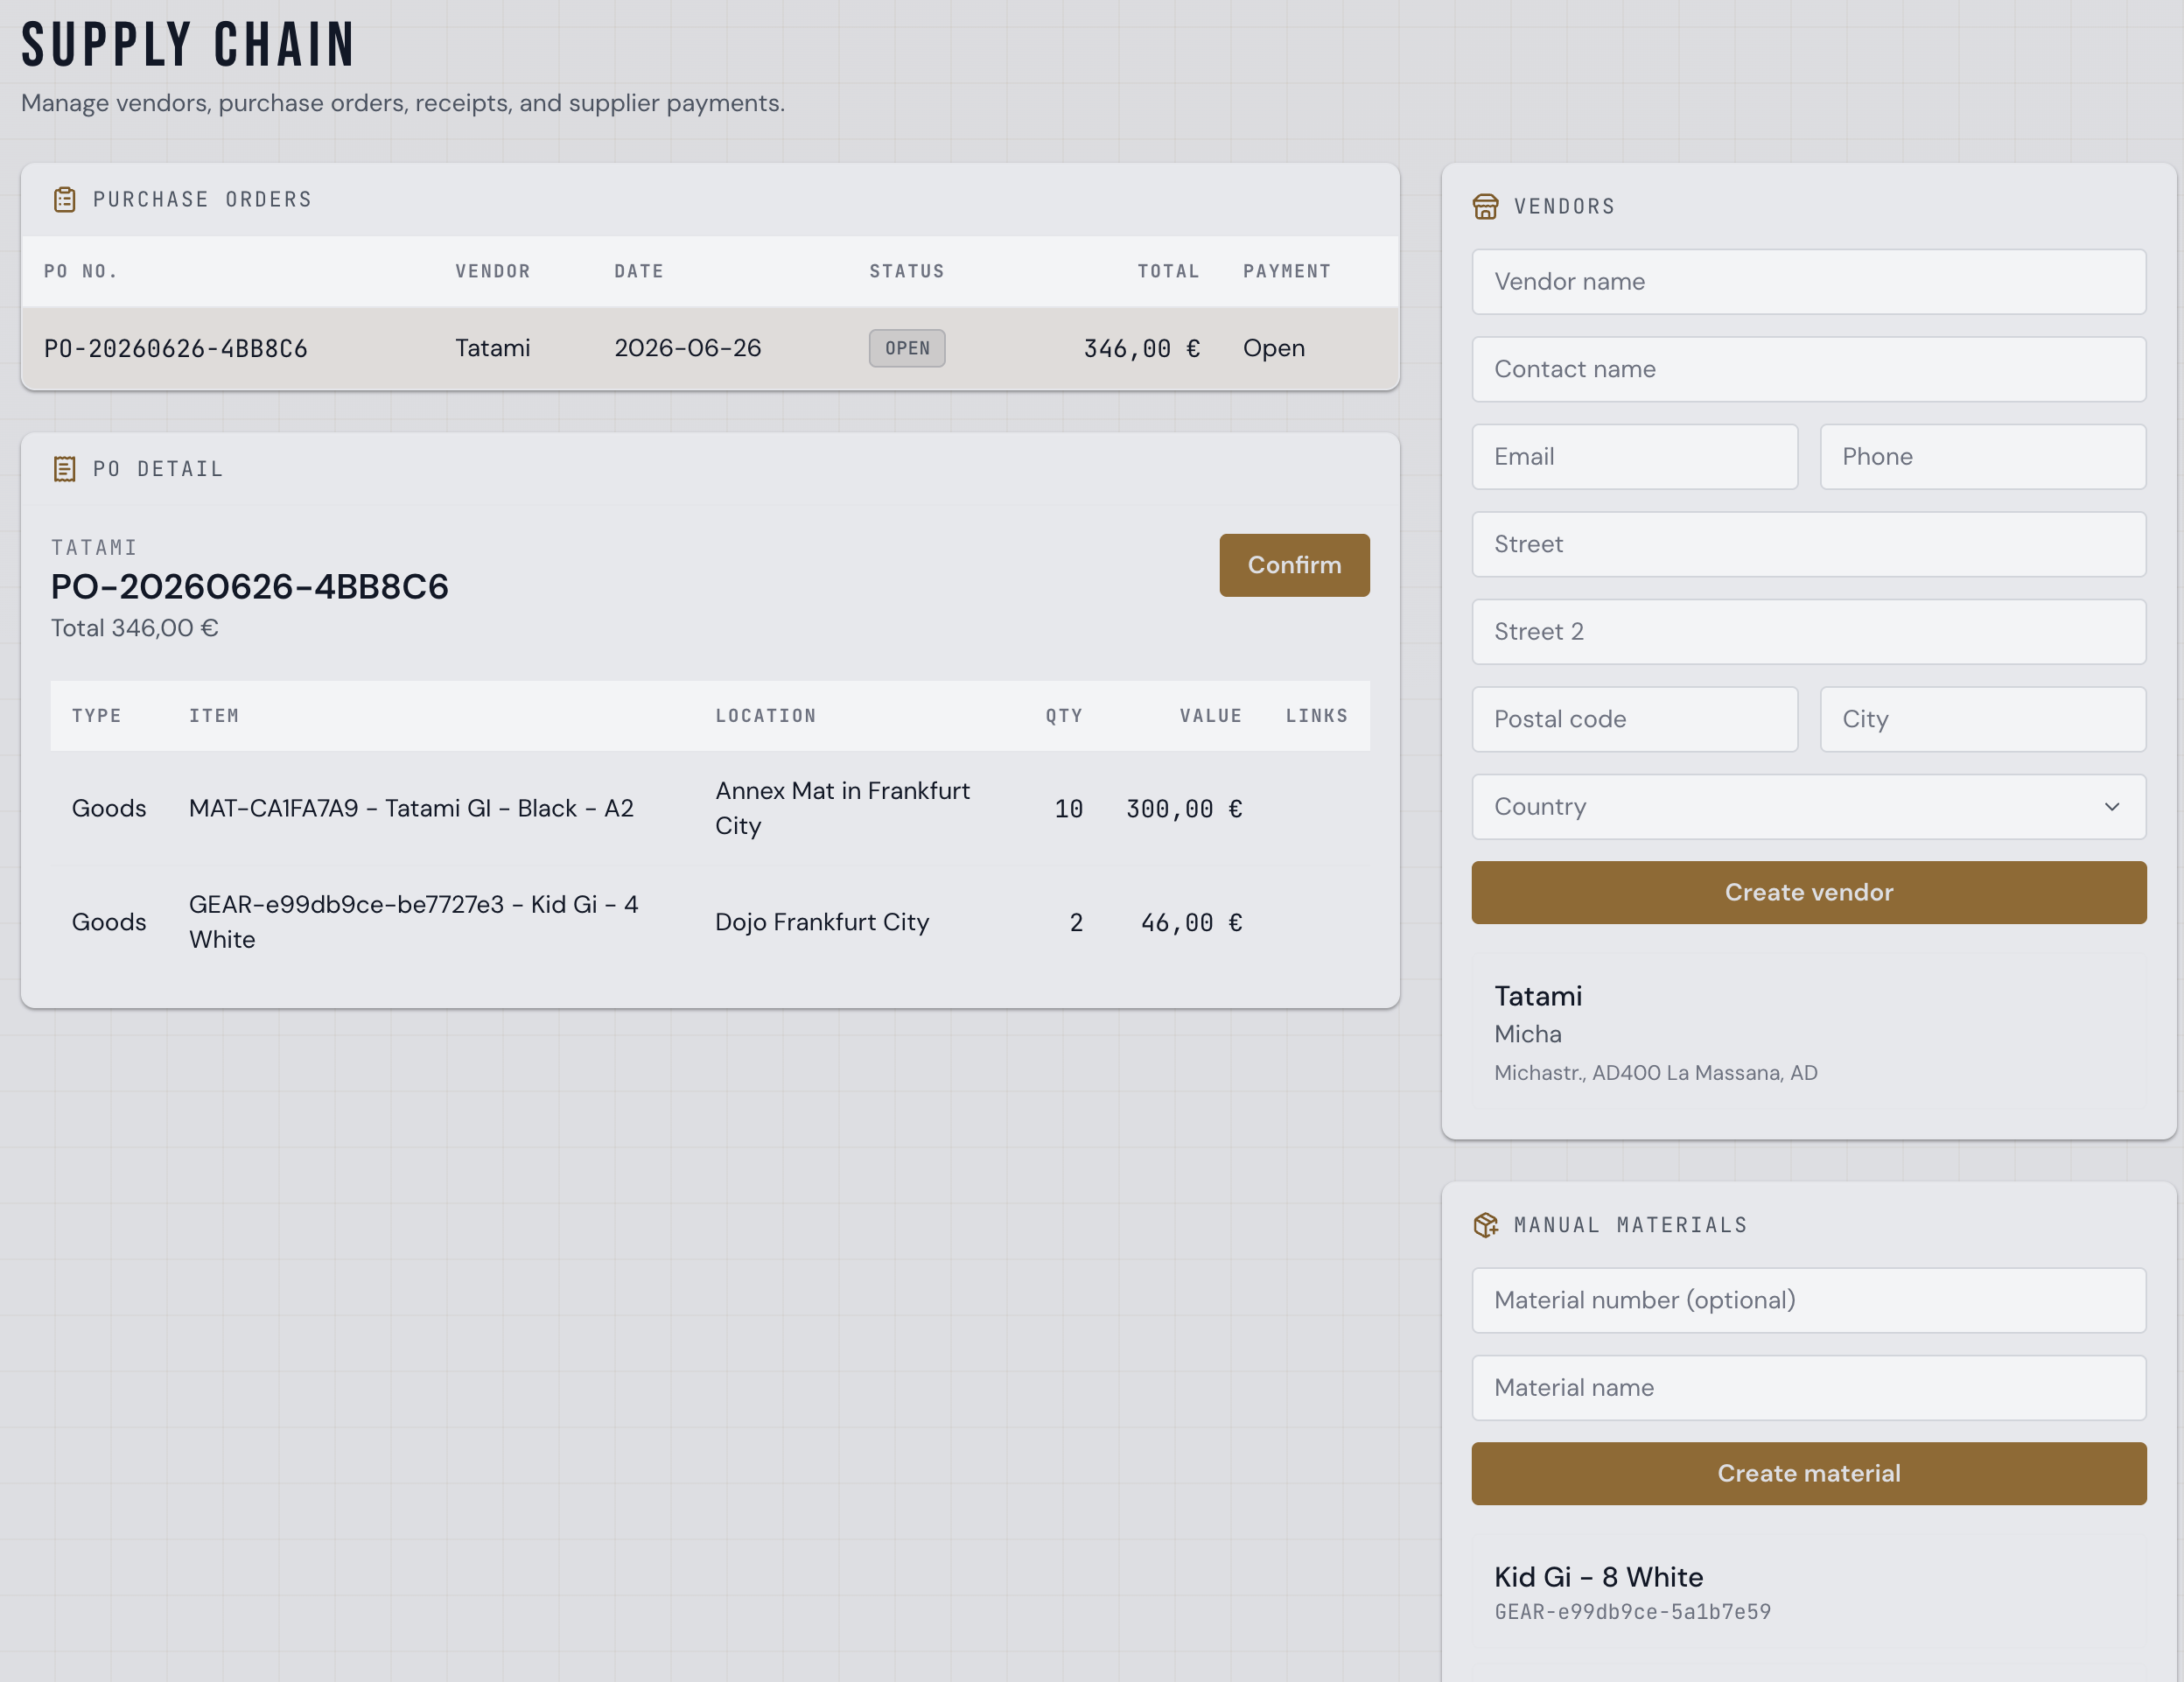
Supply Chain page with a purchase order, its line items, and the vendor creation form - 2
Add a vendor
In the right-hand column, fill in the Create vendor form:
- Vendor name (required) and an optional contact name, email and phone.
- A full address — street, optional second line, postal code, city and country.
Click Create vendor. The vendor appears in the list below; click any vendor to see its full contact card. Vendors are reused across every purchase order, so you only enter each supplier once.
- 3
Add materials
A purchase order's goods lines reference a material. Gear items you already sell are available automatically; for anything else, add it under Manual materials:
- Material number (optional) — your own SKU/reference. Leave it blank and CompTeam generates one.
- Material name (required) — e.g. "Kid Gi – White".
Click Create material. Manually-created "other" materials can be deleted later (gear-backed materials cannot). Materials are what you pick from when adding goods lines to an order.
- 4
Raise a purchase order
Use the Create purchase order form:
- Pick the vendor.
- Optionally set a PO number (auto-generated if you leave it blank) and an order date.
- Add one or more lines:
- Goods — choose a material, the location the stock will arrive at, a quantity and a unit price.
- Service — a free-text description (e.g. "Mat repair"), quantity and unit price. Services don't touch inventory.
- The draft total updates as you type. Click Create to save.
The new order shows up at the top of the Purchase orders table with status Open, priced in your branch's billing currency.
- 5
Move the order through its lifecycle
Select a purchase order to open its detail panel. Depending on the current status, the action buttons walk it through the workflow:
- Open → Confirm — you've placed the order with the vendor.
- Confirmed → Ship — the vendor has dispatched it (optional intermediate state).
- Confirmed/Shipped → Receive — the goods have arrived. This is the important one: each goods line adds its quantity to the chosen location in Inventory.
- Received → Pay — you've paid the vendor.
Each transition is one click, and you can follow the inventory and accounting links on each line to see exactly what was created.
- 6
How journal entries are posted automatically
This is what makes Supply Chain more than a shopping list: CompTeam keeps your books in sync without any manual bookkeeping.
As an order moves through its lifecycle, the right double-entry journal entries are posted for you:
- Receiving the order books the goods receipt — the value of the received goods lands in inventory/expense, balanced against what you owe the vendor.
- Paying the order books the vendor payment — settling that liability against your bank/cash.
In the order detail, once an order is received and paid, each goods line shows Inventory and Receipt journal links, and the order footer shows the Payment journal reference. Click any of them to jump straight to the exact entry in Accounting → Entries. Nothing is posted twice, and the order's status always matches what's in your ledger.
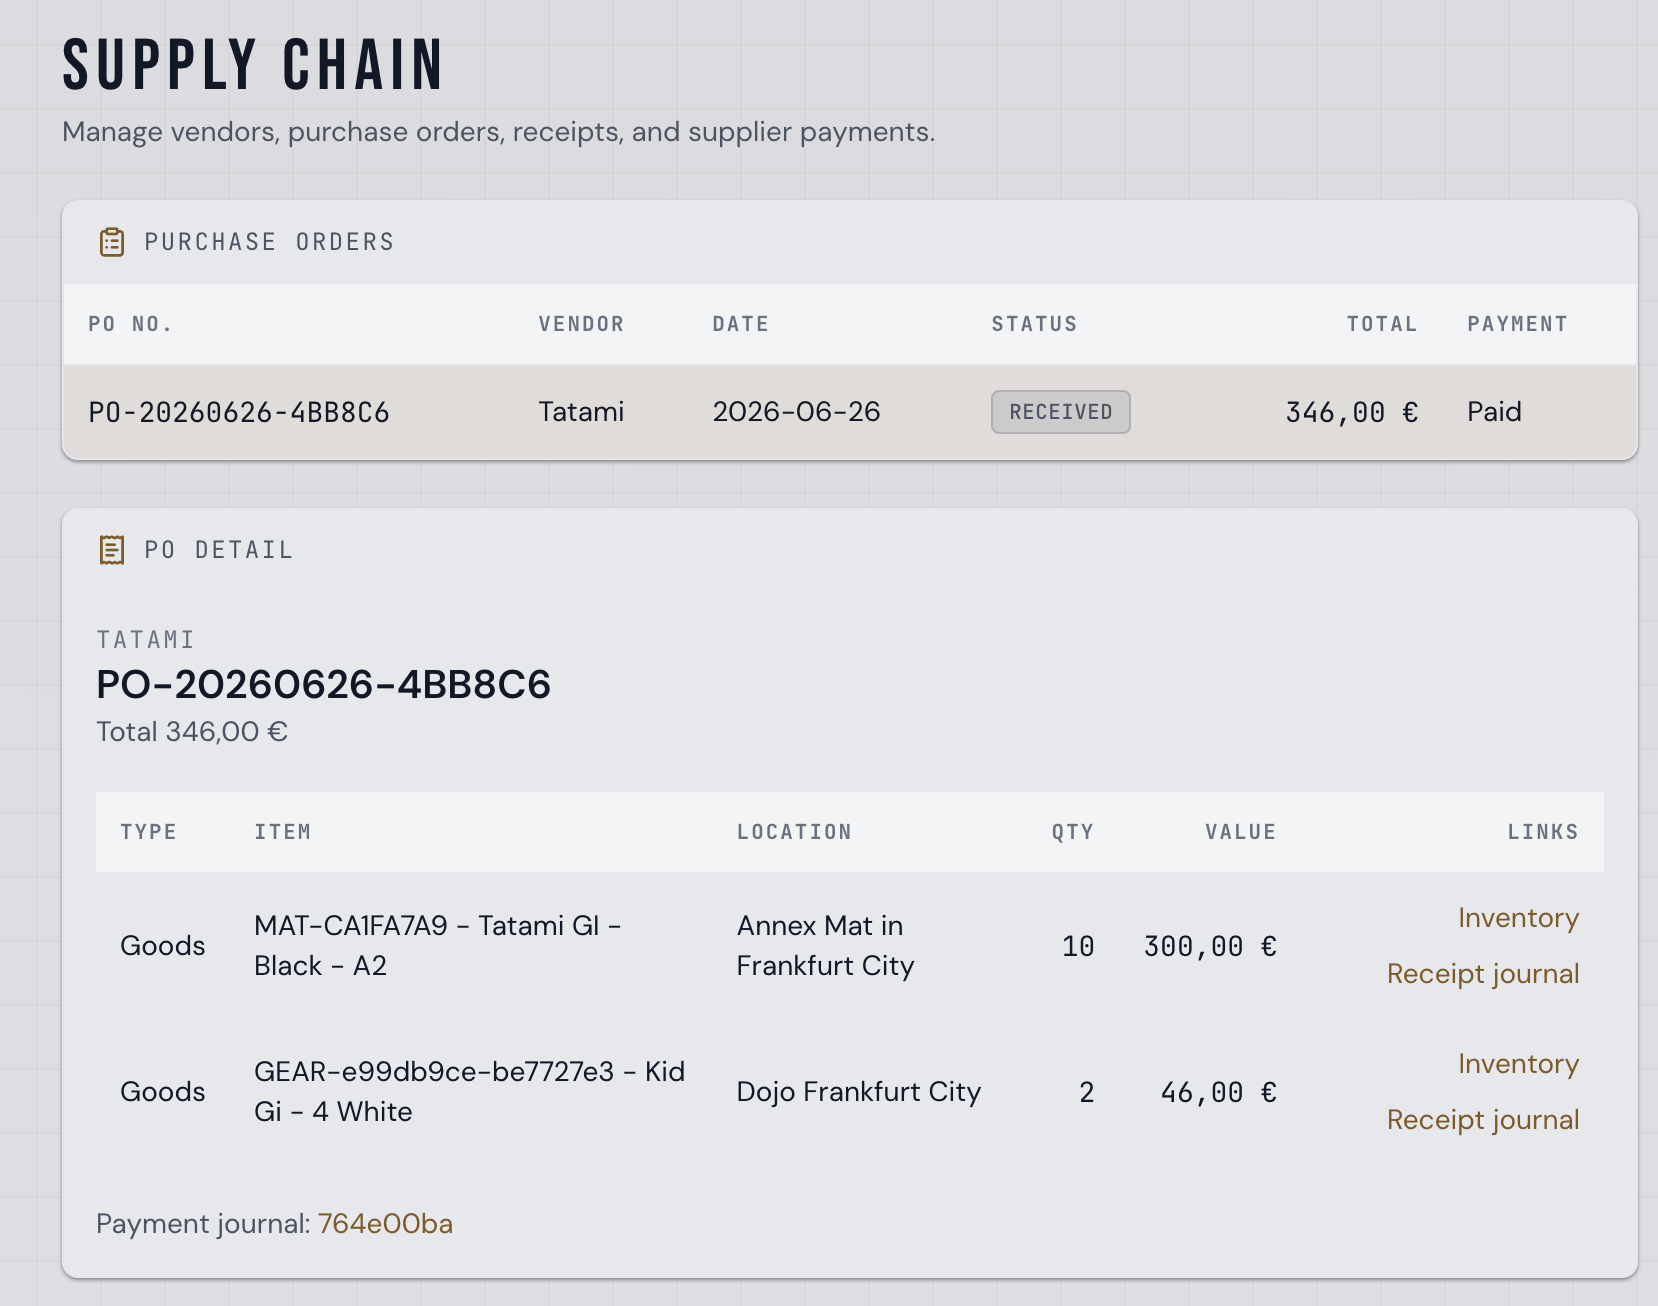
A received and paid purchase order with Inventory and Receipt journal links per line and a payment journal reference